See my work
.jpg)
BUILDING A LONGBOARD

.jpg)
The original:
.jpg)
The process:
Composites are fascinating assemblies as they incorporate numerous materials to maximize strength and bending properties. One of the most commonly used composite products is the skateboard, and as it turns out, my friend Kevin happened to be in need of a new longboard (after his old one got destroyed by a car). So I hired Kevin as my longboard consultant and composite assistant for the week and set about making a usable, aesthetically appealing longboard.
I started by using the instructions on Leigh's page regarding a folding skateboard. Kevin and I spent some time looking over longboard basics and found out the following:
LONGBOARDS:
- Types:
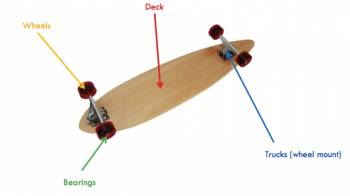
- There are many different shapes and lengths for longboards. Some basics can be found here. Different longboards have different cambers and different concavity, but for our design, we opted to make a pintail longboard that was almost flat. We added some concavity for stability and usability when turning. Longboards range in length from 24-60”, but we chose to make our board 36” by 10”. The longboard is made of some key components: a deck, the trucks, and the wheels. Kevin salvaged the trucks and wheels from his old longboard, leaving us with the task of creating a pro deck. We went with top mounting for the trucks for simplicity.
How they are made:
I watched a couple different tutorials on making skateboards, but the one I liked best can be found here. I also liked these and these.
OVERVIEW OF THE REGULAR COMPOSITE PROCESS:
- 1. Create 3D model. I actually skipped this step, going with a 2D design instead. As it turns out, longboards are essentially flat, whereas skateboards are curved. This made it unnecessary for me to create a 3D design.
- 2. Make foam mold – either two sided (typically for compression), or one-sided. Typically this is done with the shopbot. (Refer to molding and casting or build something big for more info on how to use the shopbot).
- Potentially coat the mold in epoxy and let cure if you intend to reuse it
- 3. Coat the table in a combination of plastic and paper to prevent epoxy from producing an epic mess.
- 4. Place a layer of the red release film over the mold or spread the release wax over it. Ensure that the entire piece is covered to avoid having to pry your piece off of the mold.
.jpg)
- 5. Cut your materials. If using burlap, you can either do this by hand or use a laser cutter. For wood, a laser cutter works nicely. My pieces were too large for the laser cutter, so we opted to cut after making the basic composite (in reality this is how skateboards are made anyway).
.jpg)
- 6. Mix your epoxy:
- DO NOT ASSUME THAT ALL TYPE A EPOXY IS THE SAME- We had two options, Clear epoxy (took longer to cure) or Compression Mold Epoxy (4-6 hour cure), and I accidentally mixed them. The epoxy did not work at this point.
- Epoxy sets relatively quickly, so move fast when using it.
- Do not mix a lot of epoxy at once, it will heat up and potentially melt your container. I used 4 pumps of A and 2 pumps of B at a given time and had my longboard consultant/ assistant (Kevin) use the same simulataneously.
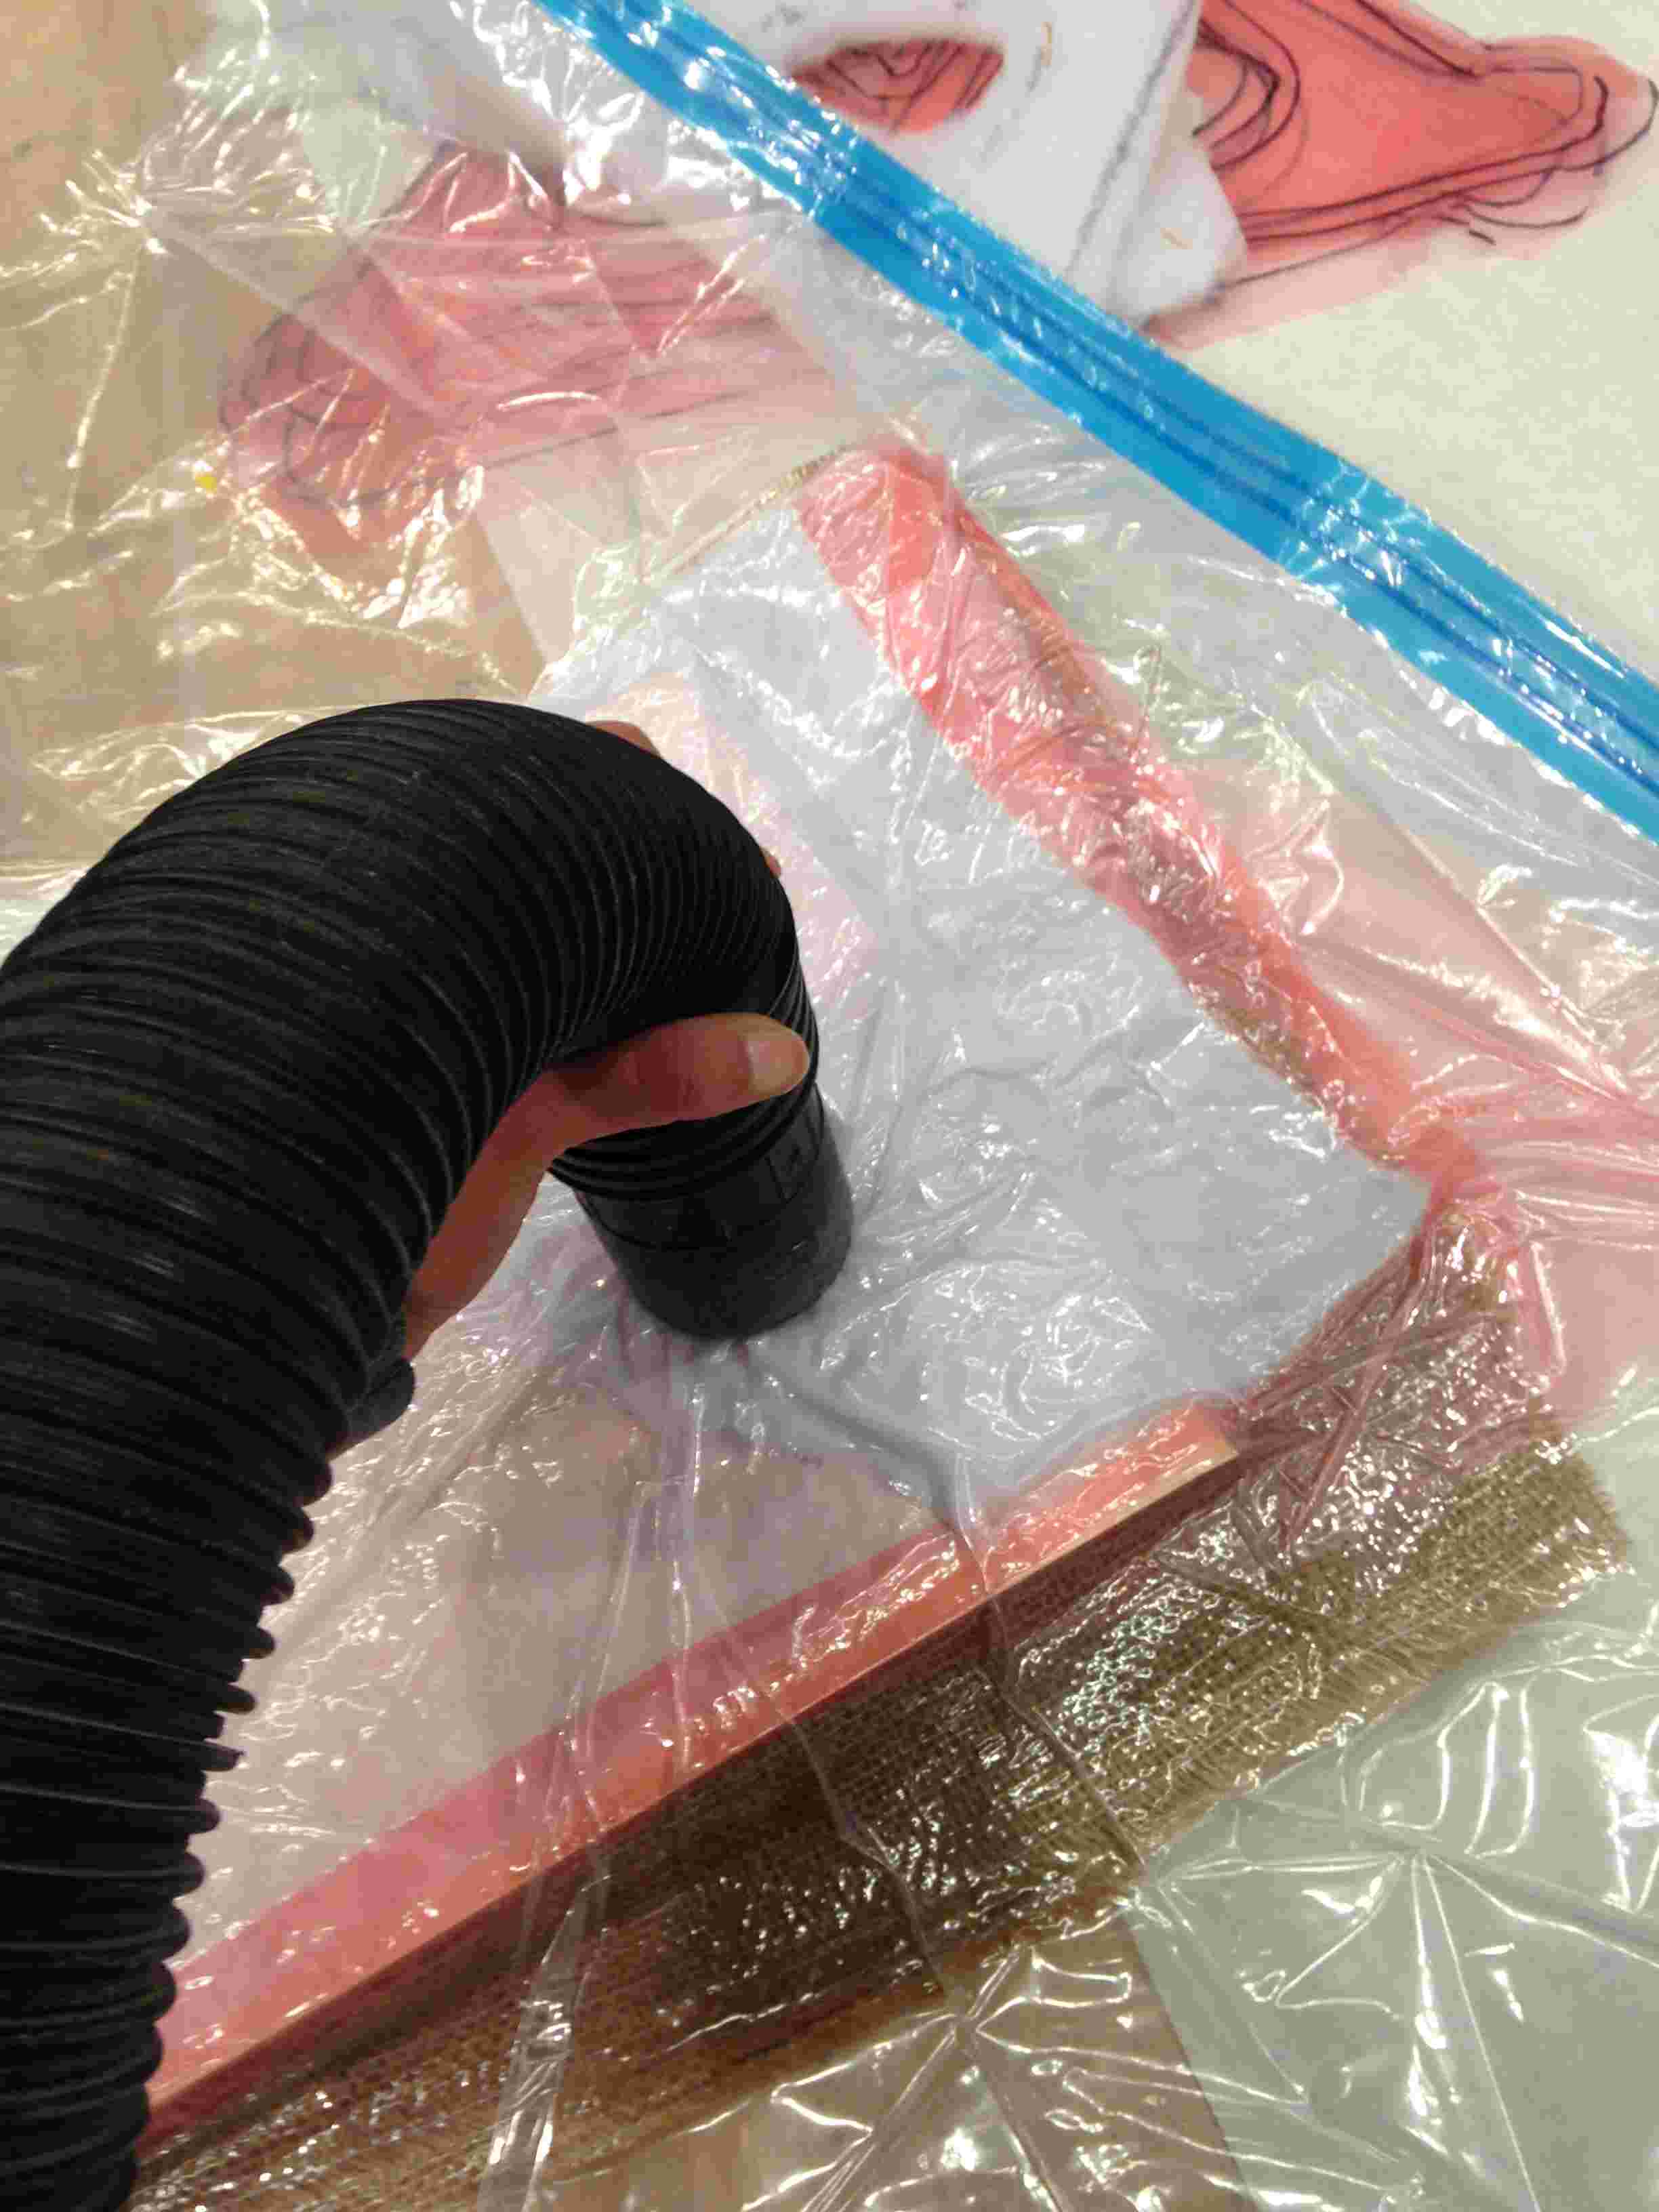
- 7. Spread your epoxy over your material. For fabrics (linen, burlap), soak the material thoroughly so you can shape it to the mold. For the wood, try to soak it as much as you can. For wood that is thicker than veneers, it is hard to soak it all the way through.
.jpg)
- 8. Apply the layers carefully. Be careful of how the layers overlap in areas such as curves or corners.
.jpg)
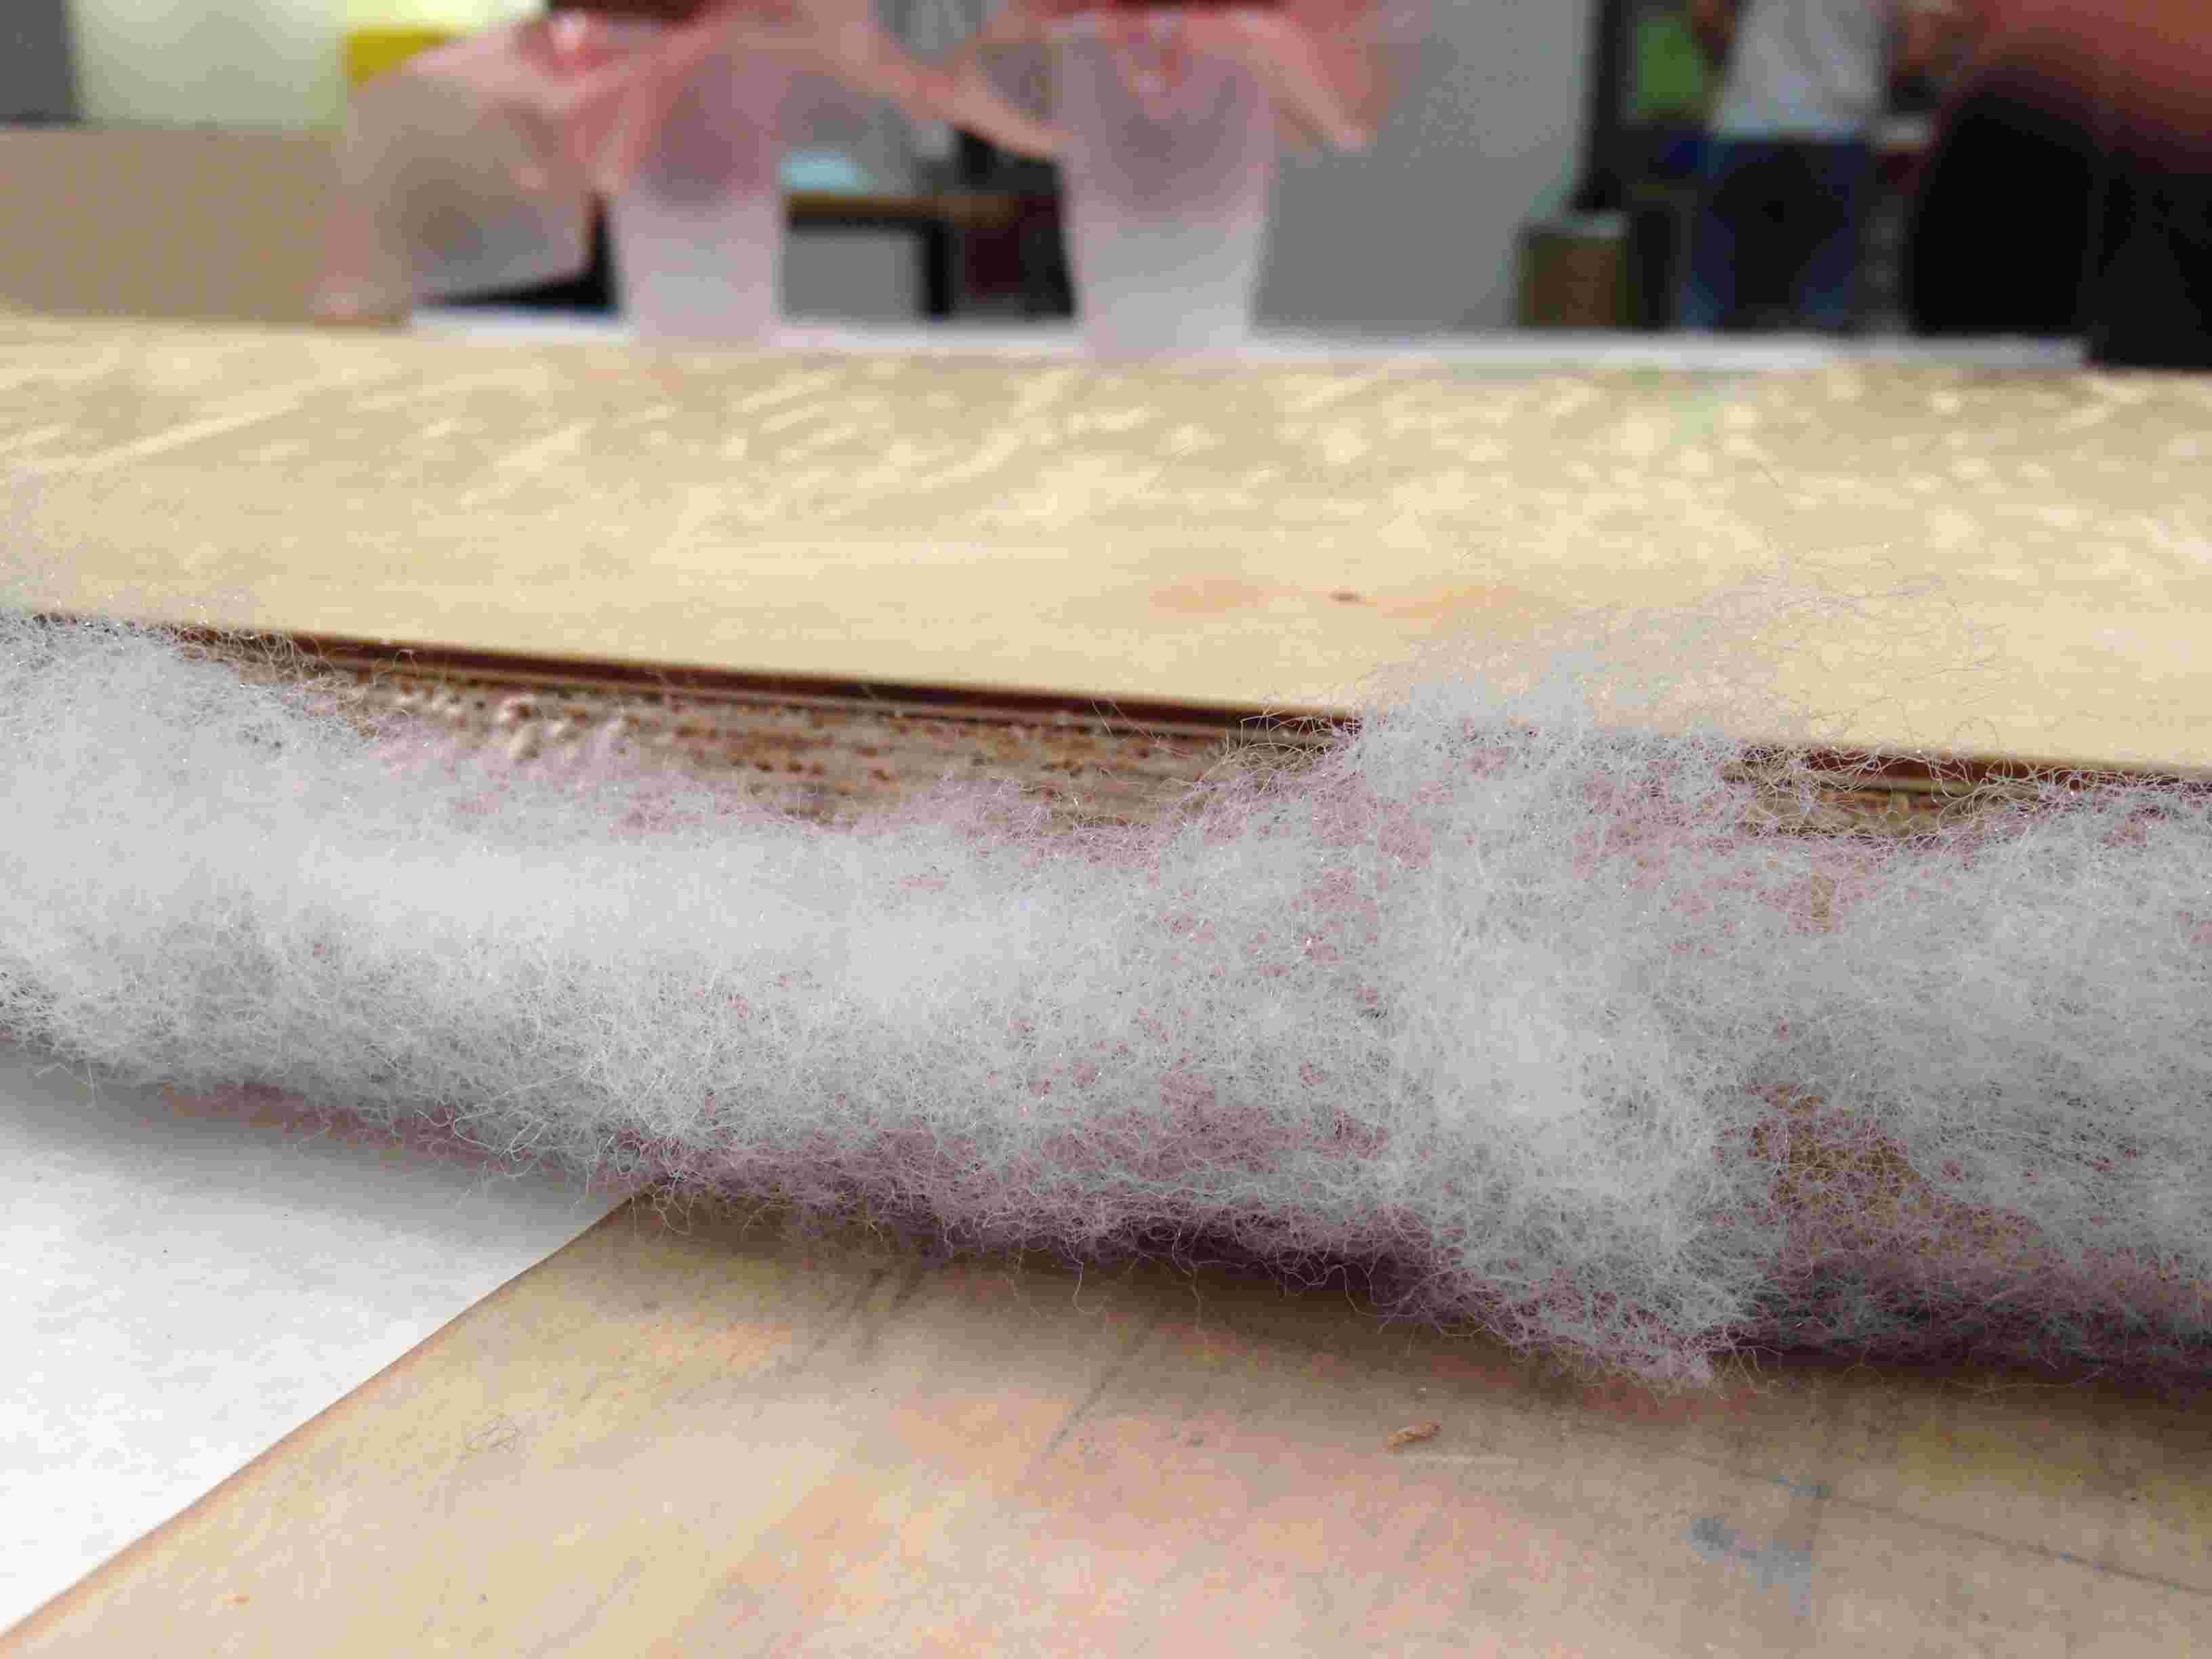
- 9. Once all the layers have been placed, use the spikey roller to place holes in another layer of the release film (called the bleeder?) on top. Put a layer of the white fuzzy fabric/cotton-like material on top (breather?). This helps spread the vacuum and soaks up the excess epoxy that leaks through the breather.
.jpg)
.jpg)
- 10. Place the entire stack into a vacuum bag, close it carefully, vacuum out all of the air, and close the check valve.
.jpg)
- 11. Leave the piece to cure for the appropriate amount of time.
- 12. Take it out of the bag, remove the top layers, and trim or sand any rough edges.
Some slight alterations I made based on my end goals and available tools:
- 1. We used 1/8th inch birch plywood cut into sheets that were 11” by 36”. Ultimately we used 4 layers of wood and 3 layers of burlap (alternating between the two). Skateboards require a much more dramatic curve (kickbacks are necessary for turning), so thinner wood is advantageous. For making a skateboard, I would have used veneers (2/83”) or maybe 1/16 “ plywood because those pieces would be much more flexible. Most skateboards are actually comprised of only seven layers of veneer and resin. Our board is therefore heavier than the average, but potentially much sturdier.
.jpg)
.jpg)
- 2. We decided to cut the wood after creating the composite (as mentioned above).
- 3. We used the old longboard as a mold to ensure that we got the correct curvature. Using a two-sided mold may have been more effective, but since the bend we needed was so slight, I suspect that our method worked as well. We clamped our piece to the mold so that we ended up using a hybrid compression/vacuum system.
.jpg)
.jpg)
4. Once the plywood and burlap composite piece had dried for over 24 hours, we printed out a template of a pintail (shown below) and traced it onto our board. We paid particular attention to the center line and truck base.
.jpg)
- 5. We used a piece of paper as a template to trace out our shape.
.jpg)
- 6.. We used a band saw to cut out our shape, and then sanded the edges to ensure a smooth, usable board. Some notes on band saws: when using curved shapes, you have to make sure that you are holding the board so that the part near the saw is tangent to the base plate. Also, when cutting, it is really helpful to use release cuts (normal to the curve) so that you don’t get stuck trying to pull the piece out and breaking the saw.
- 1. Coat the board in urethane or fiberglass to protect it and finish it nicely.
- 2. Use rice paper or spray paint to create a design on the bottom side. Cover it in more urethane or fiberglass. Here is a tutorial about this.
- 3. Drill holes in the deck to attach the existing trucks. We will probably use a drill press for this process.
.jpg)
- 4. Add grip tape or adhesive sandpaper to the top of the deck for traction.
.jpg)
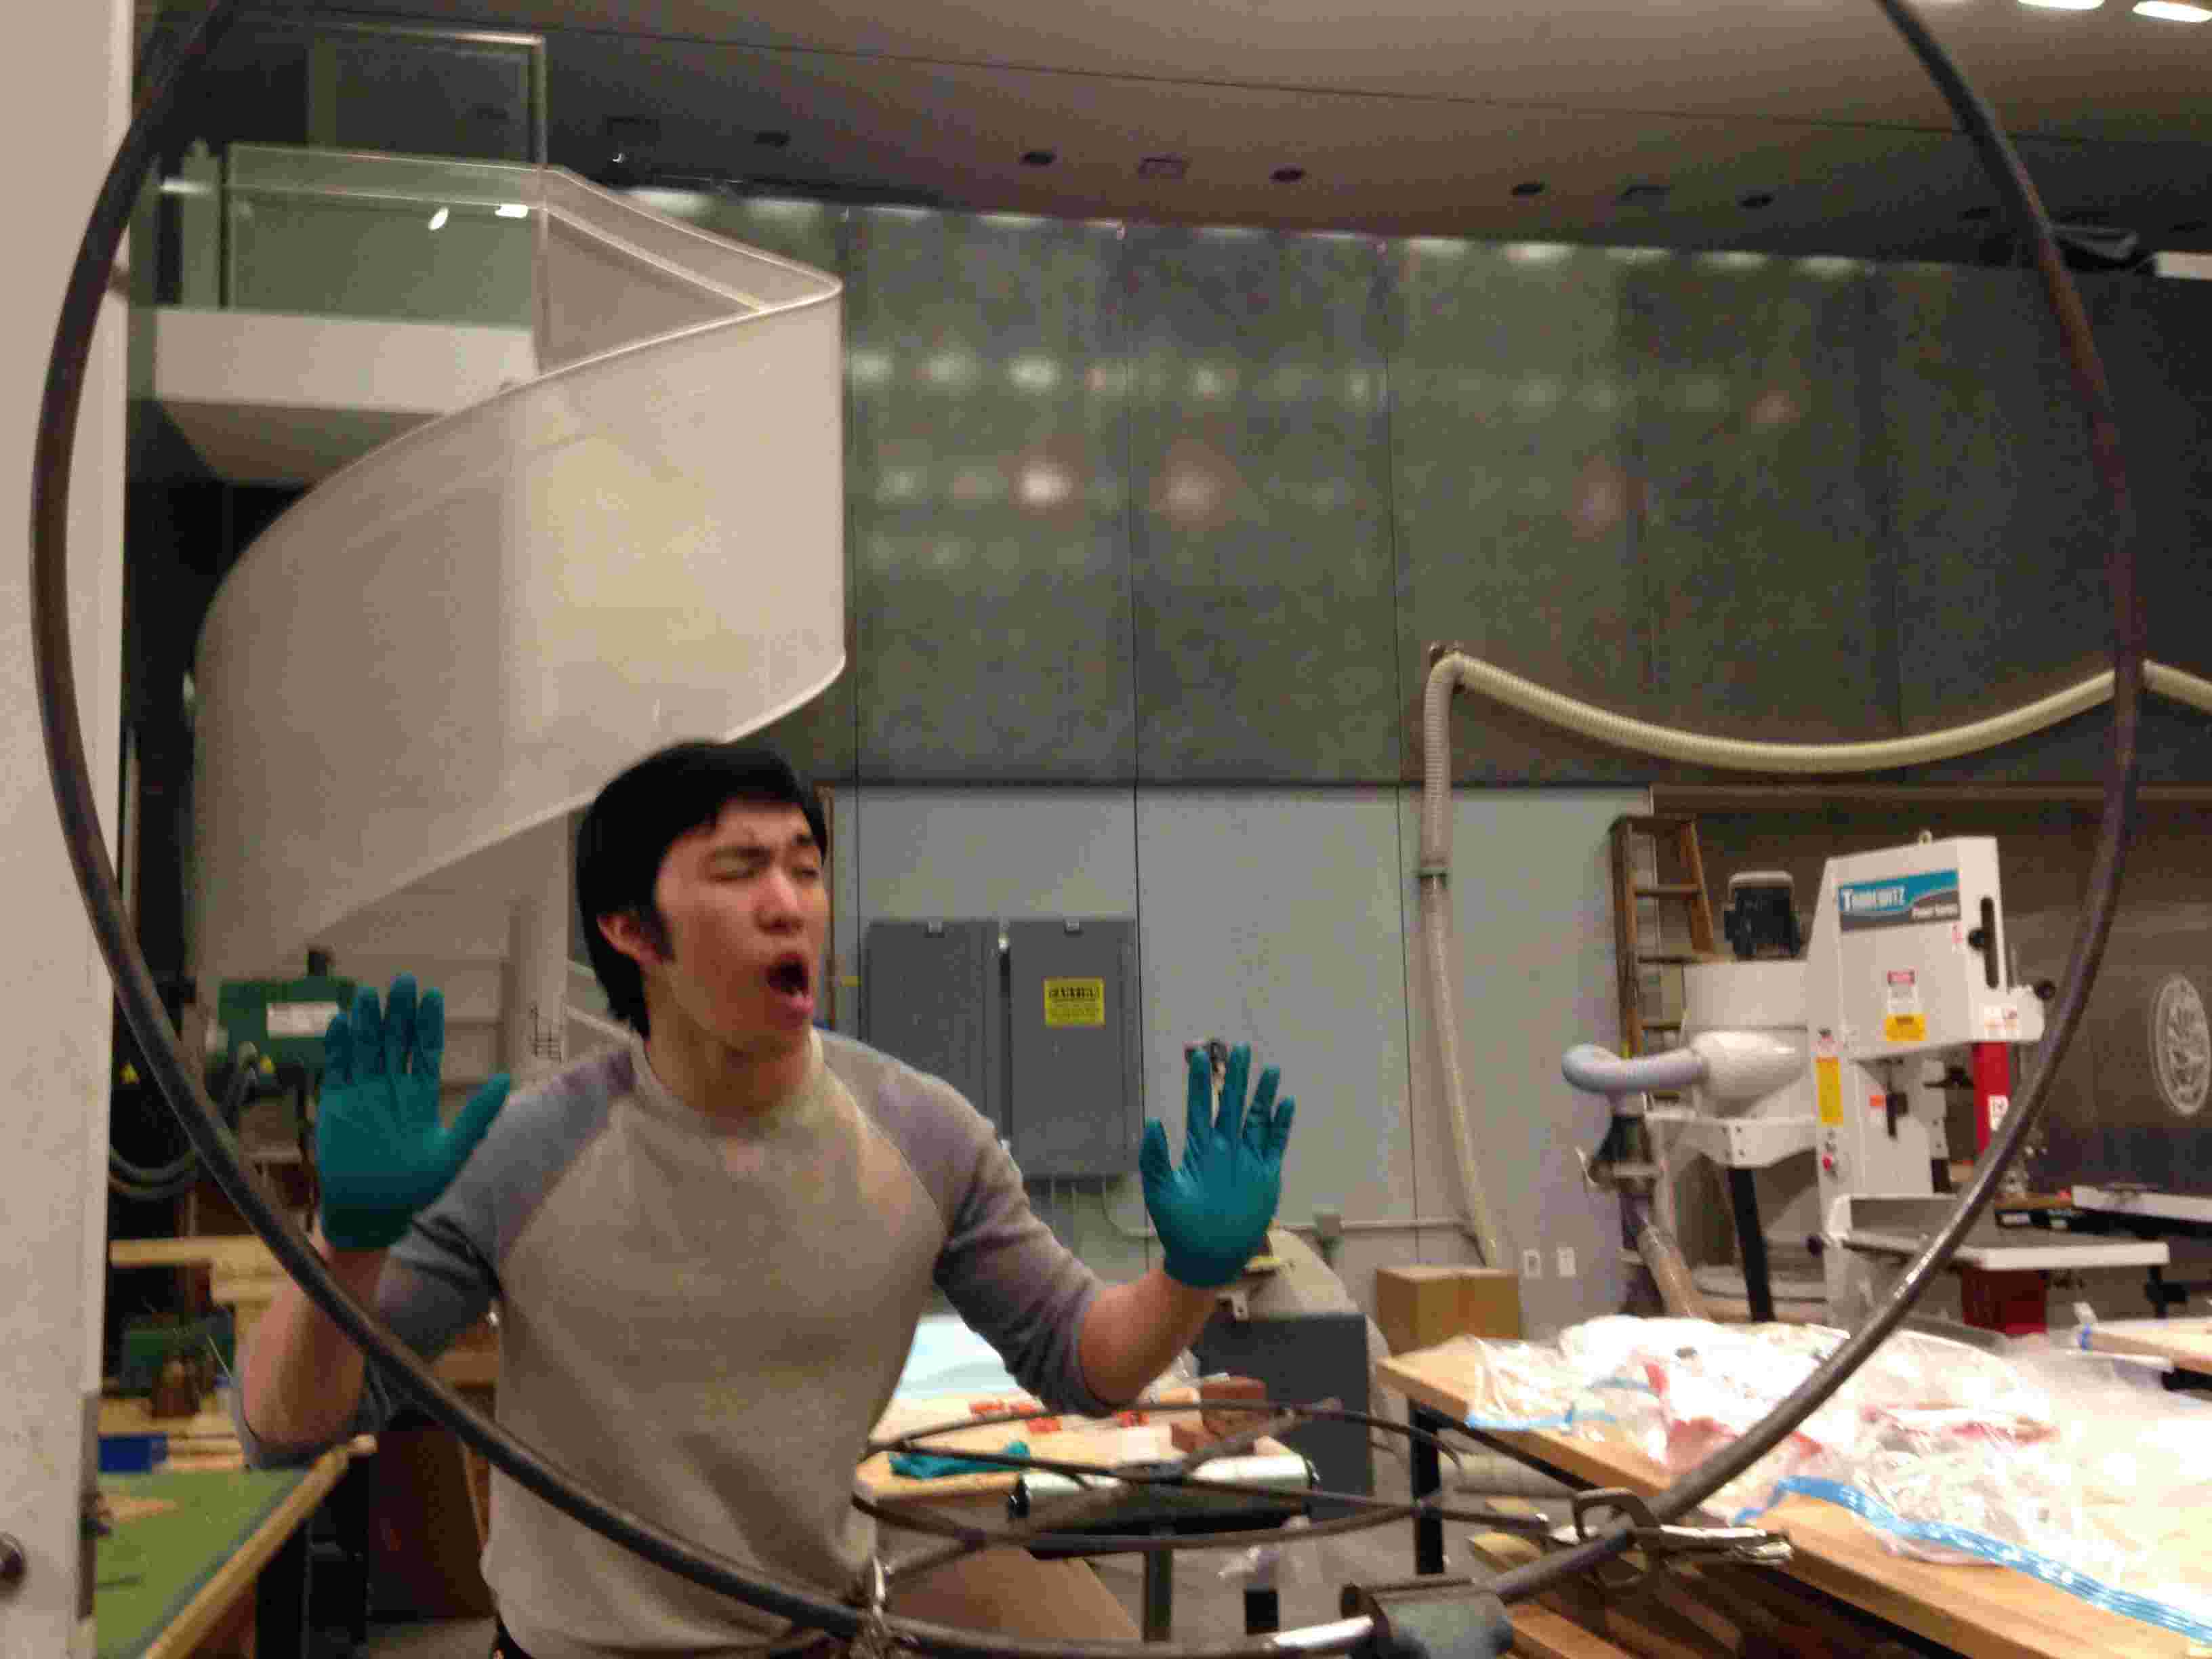
- 5. Test it and ride around like ninjas. Here is Kevin modeling this step:
.jpg)
Thanks
Thanks to Seth, Alexis, Juliana C, Juliana N, Palash, John and Tom for their help, support, and advice :). And Kevin for being an excellent consultant.
Side note: As part of the Materials Science undergraduate curriculum, we took a Materials Selection course. My friends Brandon and Fran analyzed the materials selection for and properties of longboards. This involved some load bearing analysis and Young's modulus calculations (see below). The conclusion? The best materials for skateboard decks are, in fact, carbon fiber or wood.